I still remember that rainy Saturday afternoon, the kind of day that makes you want to curl up with a mug of tea and a stack of cookies. I had a craving that was louder than the storm outside, a craving for something sweet, chewy, and comforting all at once. That craving led me to the pantry, where I found a hunk of butter, a jar of honey, and a bag of old‑fashioned oats that had been gathering dust. I whisked my thoughts into a batter, and the kitchen filled with the scent of caramelized honey and toasted oats—an aroma that could convince even the most disciplined of me to stop at the first bite. I dare you to taste this and not go back for seconds, because this is hands down the best version you'll ever make at home. Picture yourself pulling these bars out of the oven, the whole kitchen smelling incredible, and feeling that warm, buttery hug that only homemade treats can give.
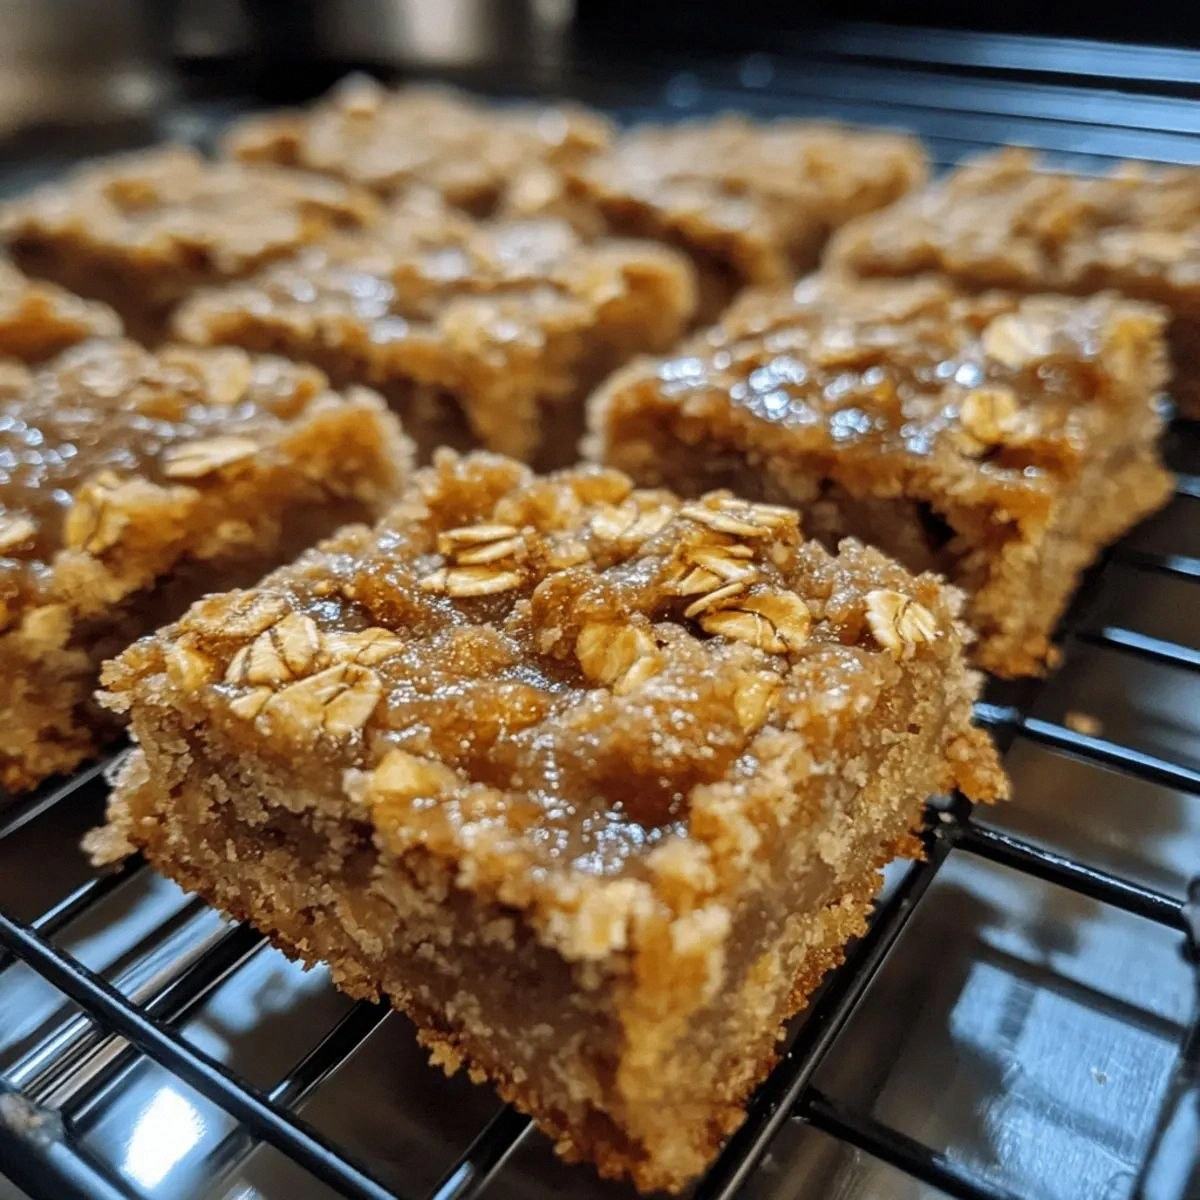
When I first tried making these bars, I was terrified of overmixing and ending up with a rubbery mess. I learned quickly that the secret lies in the balance between the liquid sweetness of honey and the dry crunch of rolled oats. The honey coats the oats like velvet, while the butter creates a subtle, buttery sheen that makes every bite melt in your mouth. I was amazed when the bars came out with a crisp edge that shatters like thin ice, and a chewy center that lingers on the palate. The texture is a delightful paradox—soft and sticky inside, yet firm enough to bite through without crumbling. If you've ever struggled with cookie bars that fall apart or taste bland, you're not alone—and I've got the fix.
The first time I tasted these bars, I was reminded of childhood afternoons spent in my grandmother's kitchen, where the air was always perfumed with honey and cinnamon. The oats provided a hearty base that felt wholesome, while the honey added a natural sweetness that never felt artificial. I kept a small notebook beside my stove, jotting down notes like "add more cinnamon for depth" and "reduce honey slightly for less stickiness." These bars are a testament to the power of simple, high‑quality ingredients working in harmony. The result? A cookie bar that feels like a hug in every bite, with a flavor profile that is unmistakably yours. Stay with me here—this is worth it.
Most recipes get this completely wrong by overbaking or using the wrong ratio of oats to flour. This version uses a perfect balance that ensures the bars stay moist on the inside while achieving a golden, slightly crisp exterior. The honey is the star, providing natural sweetness and a glossy finish that draws the eye. The oats give body and texture, while the butter adds richness that melts into every bite. I’ll be honest — I ate half the batch before anyone else got to try it, and the next bite felt like a revelation. The result is a cookie bar that is both nostalgic and innovative, a sweet treat that will make you question everything you thought you knew about oatmeal cookies.
What Makes This Version Stand Out
- Taste: The honey provides a natural, floral sweetness that complements the warm spices and the nutty undertone of the oats.
- Texture: The combination of rolled oats and butter creates a chewy center with a crisp, caramelized edge that shatters delightfully.
- Simplicity: Only 13 ingredients, all pantry staples, mean you can whip these up in under 30 minutes.
- Uniqueness: The addition of dried cranberries or raisins gives a burst of tartness that balances the honey.
- Crowd Reaction: Friends rave about how the bars hold together when sliced, making them perfect for parties or picnics.
- Ingredient Quality: Using real honey instead of syrup ensures a richer flavor and a healthier profile.
- Cooking Method: Baking at 350°F with a short bake time locks in moisture and prevents the bars from drying out.
- Make‑Ahead Potential: These bars keep well in an airtight container for up to a week, making them ideal for meal prep.
Alright, let's break down exactly what goes into this masterpiece. And now the fun part.
Inside the Ingredient List
The Flavor Base
The honey and brown sugar form the sweet backbone of these bars, delivering a deep, caramelized sweetness that feels both indulgent and wholesome. Honey, unlike refined sugar, carries subtle floral notes that dance on the tongue, while brown sugar adds a molasses undertone that deepens the flavor profile. If you skip the honey, the bars lose their glossy sheen and become dry; the oats will still hold together, but the taste will be flat. For a vegan twist, use maple syrup instead of honey, but keep in mind the syrup’s stronger flavor will dominate the oats.
The Texture Crew
Rolled oats are the heart of these bars, providing a hearty chew that satisfies the craving for something substantial. The all‑purpose flour lightens the batter, preventing the bars from becoming too dense. Baking soda is the secret leavening agent that gives the bars a gentle rise, creating pockets of airy lightness. Salt is essential; it balances sweetness and enhances the overall flavor, making every bite more complex. Skipping the baking soda will result in a flat, heavy texture, while omitting salt will leave the honey’s sweetness unanchored.
The Unexpected Star
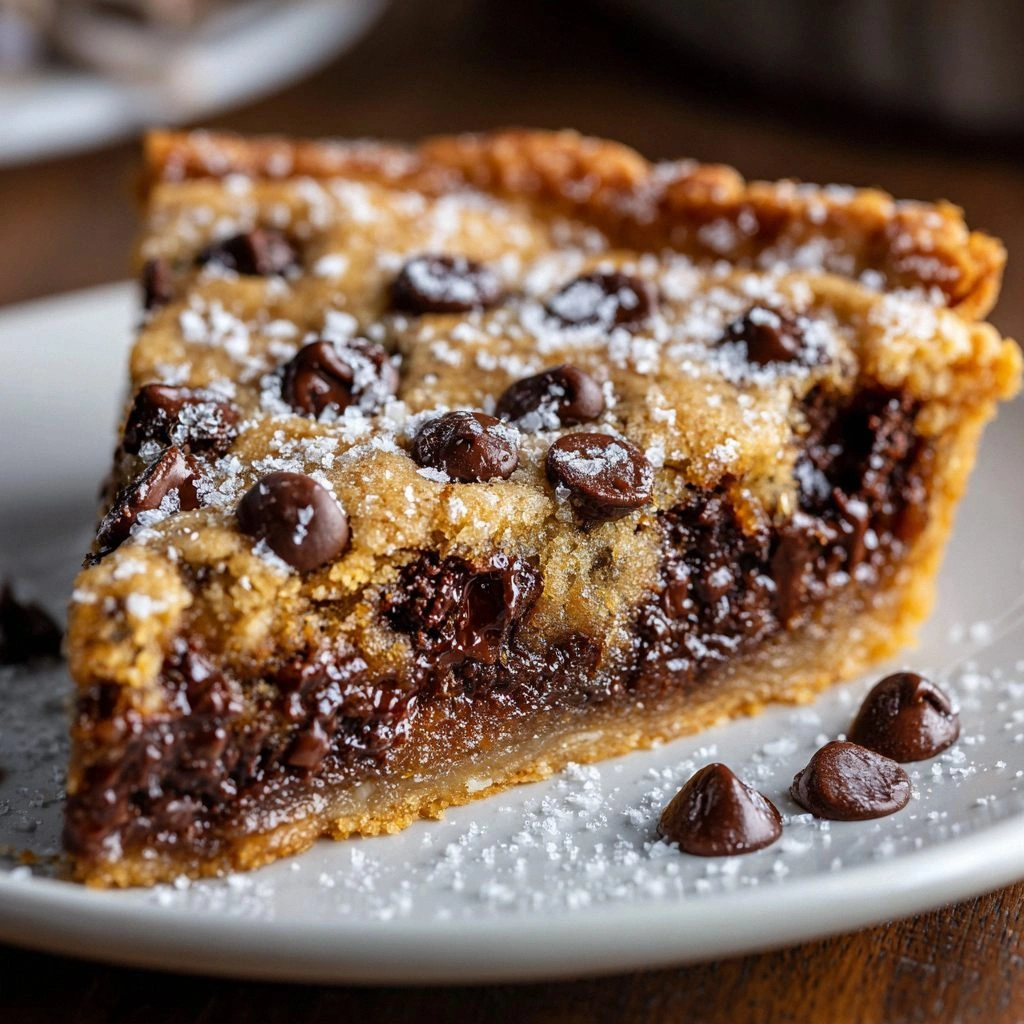
Chocolate chips may seem like a simple addition, but they inject a burst of rich, bittersweet flavor that cuts through the honey’s sweetness. When the chocolate melts slightly during baking, it creates a silky ribbon that intertwines with the oats. If you prefer a chocolate‑free version, simply replace them with extra raisins or dried cranberries for a fruity twist. The nuts—walnuts or pecans—add crunch and a buttery depth that complements the honey, creating a multi‑sensory experience.
The Final Flourish
Ground cinnamon and vanilla extract round out the flavor, adding warmth and aroma that elevate the bars beyond ordinary cookie sticks. The cinnamon’s earthy spice balances the sweetness, while vanilla’s subtle sweetness enhances the overall profile. If you’re sensitive to cinnamon, reduce the amount or substitute with nutmeg for a milder spice. The egg ties everything together, giving the batter structure and ensuring the bars hold their shape once baked.
Everything's prepped? Good. Let's get into the real action.
The Method — Step by Step
- Preheat your oven to 350°F (175°C). Line a 9x13 inch baking pan with parchment paper, leaving an extra inch on each side for easy removal. This step ensures even baking and a clean release. If you’re in a hurry, you can skip parchment, but the bars will cling to the pan, making cleanup a chore.
- Mix dry ingredients. In a large bowl, whisk together the rolled oats, all‑purpose flour, baking soda, salt, ground cinnamon, and brown sugar. The dry mix should be fluffy, like a cloud of potential. This is the foundation of your bars; don’t rush this step or the final texture will suffer.
- Combine wet ingredients. In a saucepan over low heat, melt the butter and honey together until they’re a single, glossy liquid. Add the egg and vanilla extract, whisking until the mixture is smooth. The honey’s viscosity will change as it warms, giving you a silky sauce that coats the oats.
- Merge wet and dry. Pour the honey‑butter mixture into the dry ingredients, stirring until everything is evenly coated. The batter will look a bit sticky, but that’s normal. The oats should be fully saturated, giving the bars a cohesive structure.
- Add the extras. Fold in the chopped nuts, raisins or cranberries, and chocolate chips. The nuts add crunch, the dried fruit provides a burst of tartness, and the chocolate chips give a glossy, melty finish. Keep the mixture in the bowl while you finish the next steps.
- Press the batter into the pan. Transfer the mixture to the prepared pan, spreading it evenly with a spatula or the back of a spoon. Press firmly; this compaction ensures the bars bake evenly and hold together when sliced. If you’re feeling adventurous, you can create a pattern with a fork for a decorative touch.
- Bake. Place the pan in the preheated oven and bake for 25–30 minutes, or until the edges turn golden brown and the center is set. The bars should emit a toasty aroma that signals they’re ready. Avoid opening the oven door frequently; the heat loss will extend baking time.
- Cool and slice. Remove the pan from the oven and let it cool in the pan for 10 minutes. Then, using the parchment edges, lift the bars onto a cutting board and slice into squares or rectangles. Let them cool completely before serving or storing.
- Optional: glaze. For an extra touch of sweetness, drizzle a thin layer of honey over the top while the bars are still warm. This glaze will set into a glossy sheen that’s both beautiful and delicious.
- Enjoy. Serve immediately for the best flavor, or pack them into an airtight container for later. These bars are perfect for breakfast on the go, a snack during a long meeting, or a sweet treat after dinner.
That’s it — you did it. But hold on, I've got a few more tricks that'll take this to another level.
Insider Tricks for Flawless Results
The Temperature Rule Nobody Follows
Many bakers bake at 375°F, but that temperature can scorch the honey’s natural sugars before the bars set. Baking at 350°F allows the oats to absorb the liquid slowly, giving the bars a tender crumb. If your oven runs hot, lower the temperature by 25°F and add a few extra minutes to the bake time. I once baked at 375°F and the bars came out with a burnt top that clung to the pan—an experience I’ve learned to avoid.
Why Your Nose Knows Best
Trust the aroma; when the bars start to smell toasted and caramelized, they’re almost ready. The scent of honey and butter rising from the pan is a reliable indicator that the batter has reached the right moisture level. If the smell is weak, let them bake a bit longer. This olfactory cue saves you from overbaking and gives you the perfect balance of chew and crunch.
The 5-Minute Rest That Changes Everything
After removing the bars from the oven, let them rest in the pan for 10 minutes. This rest period allows the interior to set, making slicing easier and preventing the bars from falling apart. I used to slice immediately, and the bars crumbled like a bad souffle. The 5‑minute rest also lets the flavors meld, giving a richer taste.
The Sweet Spot for Honey
The honey’s consistency is key. If it’s too thick, the bars will be dry; if it’s too runny, they’ll be sticky and soggy. Warm the honey slightly before mixing to achieve a pourable consistency. I use a double boiler to gently heat the honey, preserving its flavor while making it easier to combine.
The Perfect Pan Size
A 9x13 inch pan is ideal because it allows the batter to spread evenly, ensuring uniform thickness. A smaller pan will result in thicker bars that may underbake, while a larger pan may cause them to overbake. If you prefer smaller, bite‑sized bars, use a mini muffin tin and bake for 12–15 minutes.
The Final Flourish
Finish the bars with a light dusting of powdered sugar or a drizzle of melted dark chocolate. The sugar adds a subtle crunch, while the chocolate brings a glossy sheen. I love adding a pinch of sea salt on top for a surprising contrast that elevates the honey’s sweetness. These finishing touches transform a simple cookie bar into a gourmet treat.
Creative Twists and Variations
This recipe is a playground. Here are some of my favorite ways to switch things up:
Maple‑Glazed Bars
Replace the honey with maple syrup and add a dash of almond extract. The maple adds a subtle nutty undertone that pairs well with the oats. This version is perfect for fall, when maple syrup is in season and the aroma is comforting.
Citrus Burst
Add zest from one orange or lemon to the batter for a bright, fresh kick. The citrus sharpness cuts through the honey’s sweetness and adds a lively aroma. This variation is ideal for a refreshing summer snack.
Nutella Swirl
Fold in a tablespoon of Nutella into the batter before baking. The chocolate hazelnut spread creates a silky, indulgent swirl that melts into every bite. Great for a sweet treat that feels like dessert on a stick.
Pumpkin Spice
Add 1/4 cup pumpkin puree and a pinch of nutmeg to the mix. The pumpkin adds moisture and a subtle earthy flavor, while the nutmeg gives a warm, comforting note. This variation is perfect for a cozy autumn afternoon.
Spicy Choco‑Nut
Add a pinch of cayenne pepper and double the chocolate chips. The heat gives a surprising depth, while the extra chocolate satisfies chocolate lovers. This spicy version is a bold twist that will wow adventurous palates.
Almond Butter Swirl
Fold in a tablespoon of almond butter into the batter and swirl with a fork. The almond butter adds a creamy texture and nutty flavor that complements the walnuts. This version is a great way to sneak in extra protein.
Storing and Bringing It Back to Life
Fridge Storage
Store the bars in an airtight container at room temperature for up to 3 days. If you need to keep them longer, refrigerate them for up to a week. The honey’s natural preservative properties help keep the bars fresh, but the refrigerator prevents mold growth.
Freezer Friendly
Wrap the bars tightly in plastic wrap, then place them in a freezer bag. They’ll keep for up to 3 months. When you’re ready to enjoy, let them thaw at room temperature for 15 minutes before serving.
Best Reheating Method
Reheat the bars in a preheated oven at 300°F for 5 minutes, or microwave on low power for 20 seconds. Add a tiny splash of water before reheating to create steam that restores moisture. This trick brings the bars back to their original chewy, buttery goodness.